How to install a dog car seat correctly.
Most dog booster seat problems trace to installation errors, not product failures. Here is the step-by-step that gets you to a properly anchored, properly tethered setup in under five minutes.
A correctly installed dog booster seat is anchored, tethered, and stable. A poorly installed one moves around in normal driving, will not restrain the dog in a sudden stop, and frustrates everyone in the car. The difference between the two is about three minutes of attention during the first install, and ten seconds of verification on every subsequent ride.
This guide is the standard install procedure that works for nearly every booster sold on Amazon. Brand-specific details may vary slightly. If your booster came with instructions, follow those when they conflict with this guide.
Before you start: what you need
- The booster seat itself. Unwrapped, with all parts confirmed (cover, foam interior, internal tether or D-ring).
- A crash-tested or fitted dog harness. Not a collar, not a walking harness with a basic clip. A multi-strap car harness with a real attachment point.
- Your vehicle’s back seat with seat belts. Confirm the buckle and shoulder belt geometry on the side you plan to use.
- Five minutes. First-time installation takes about that long. Every install after the first takes 30 seconds.
Step 1: Pick the seat position
The right side of the back seat (passenger side) is the standard recommendation for three reasons:
- You can see the dog from the driver’s seat without turning your head fully.
- You can reach in to adjust the dog at parking-lot stops without walking around the car.
- On most US sedans, the passenger-side back-seat shoulder belt routes cleanly, while the driver-side back-seat belt sometimes interferes with the buckle position.
If your back seat has three positions, do not use the middle. The middle seat usually has only a lap belt, no shoulder belt, which is not enough anchoring for a booster.
Step 2: Thread the seat belt
Almost every booster on the market uses the same threading approach: the rear of the booster has two webbing channels (or a single tunnel) that the back-seat belt passes through.
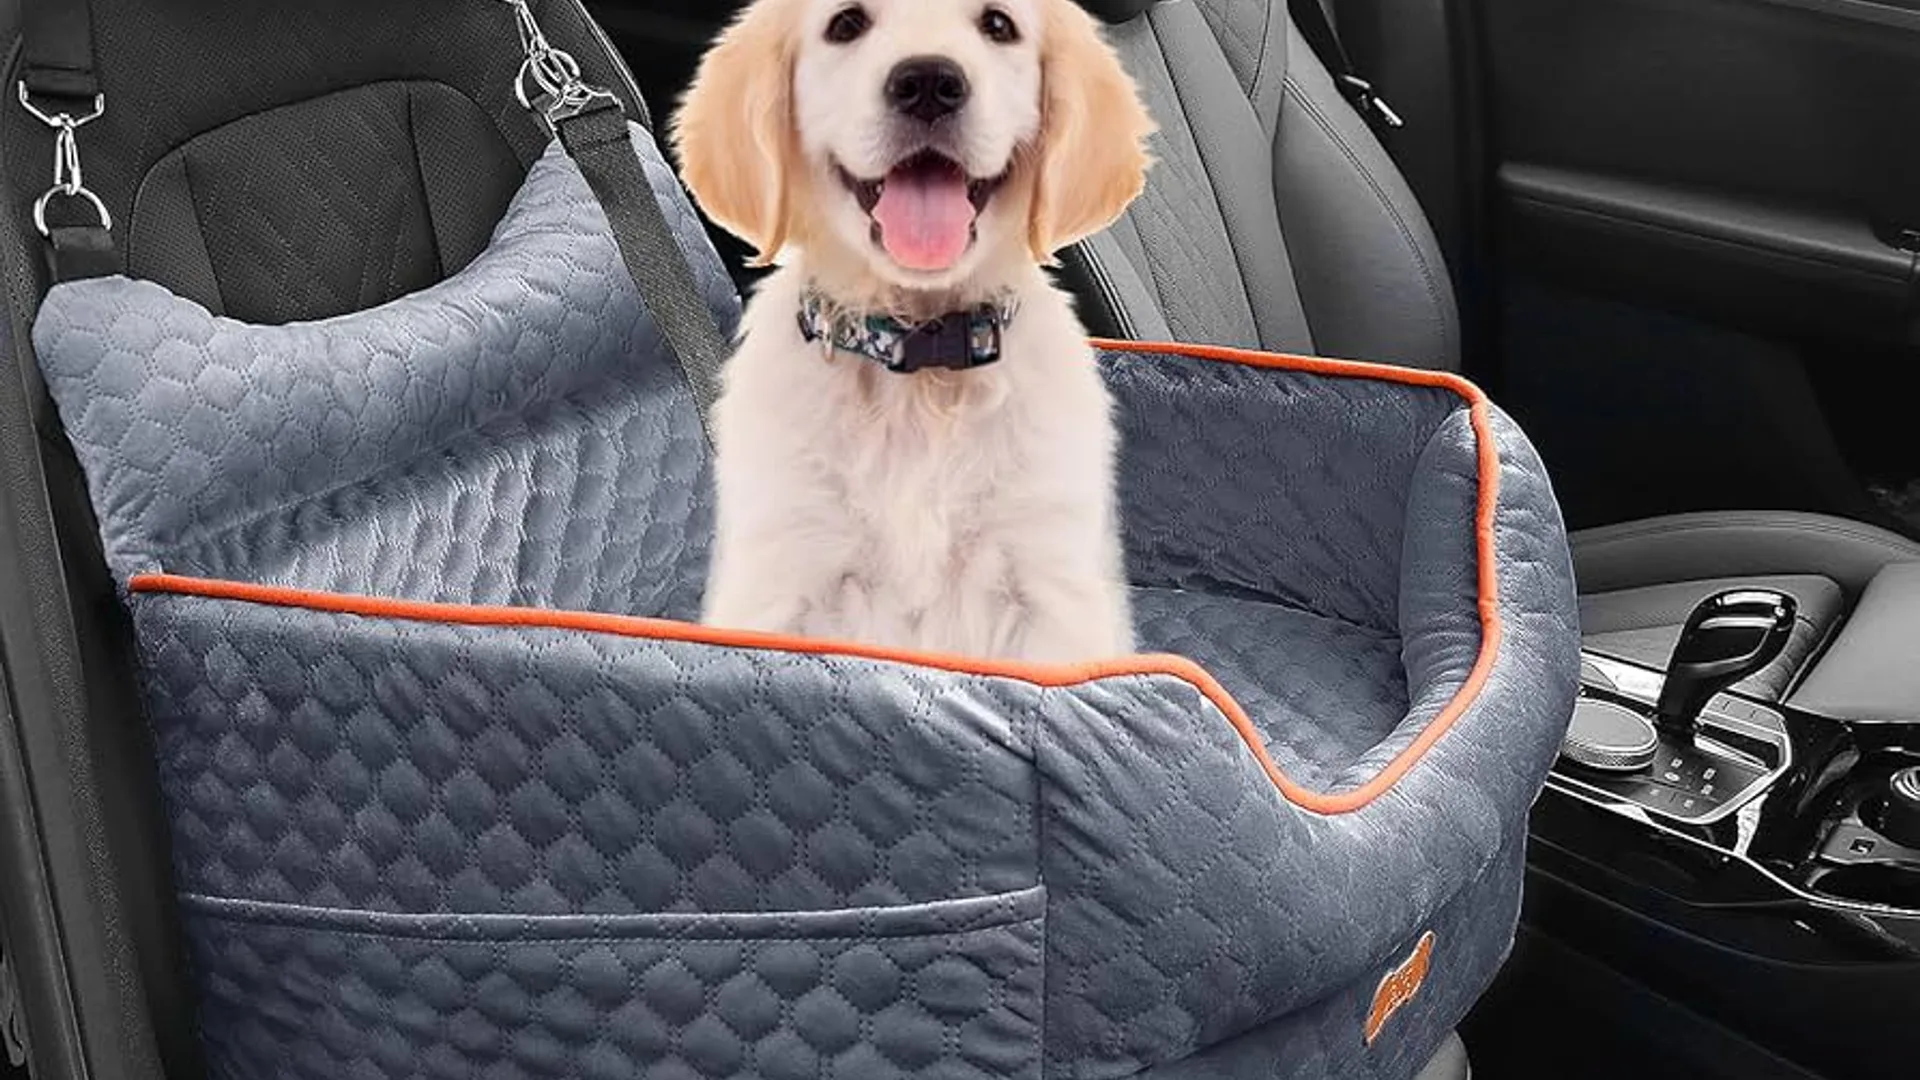
- Place the booster on the seat with the open side facing forward (the dog will face you while you drive).
- Pull the seat belt out fully, holding the buckle.
- Pass the buckle behind and through the booster’s rear channel from one side, all the way through to the other side.
- Click the buckle into the seat belt latch as you would for a human passenger.
- Allow the seat belt to retract until it is taut. Some belts will lock in the locked-tether mode at this point, which is correct.
If your booster has a separate lap-belt strap underneath (this is more common in higher-end models), thread the lap belt through that channel before clicking the buckle.
Step 3: Confirm the booster is anchored
Run the five-second pull test:
- Grip the front edge of the booster with both hands.
- Pull straight up firmly.
- The booster should not lift more than 1 inch off the seat. It should feel anchored.
If the booster lifts higher, one of three things is wrong:
- The seat belt is not threaded all the way through both channels.
- The seat belt is not pulled tight enough (some belts need a firm tug to lock in tether mode).
- The booster is sized for a vehicle with different seat belt geometry than yours, and is not anchoring cleanly. Return and pick a different model.
Step 4: Put the harness on the dog (not in the car)
Always put the harness on the dog before lifting them into the booster, ideally outside the car or while standing next to it. Putting a harness on a dog who is already in the booster is harder, and increases the chance of mis-fitting straps under time pressure.
For most multi-strap car harnesses:
- Slip the chest piece over the dog’s head, with the wide chest plate centered on the sternum.
- Bring the back strap over the shoulders and down the back, sitting flat between the shoulder blades.
- Pass each side strap under the front legs and up the sides, clicking them to the back strap.
- Tighten until you can fit two fingers (not more) between the harness and the dog’s chest at the widest point.
Step 5: Place the dog in the booster, clip the tether
- Lift the dog into the booster gently. Smaller dogs may need to be guided into a sitting position once placed.
- Locate the booster’s internal harness anchor (a metal D-ring or a heavy webbing loop).
- Clip the harness’s tether or D-ring to the booster anchor.
- Adjust tether length: aim for 4 to 8 inches of slack, enough that the dog can sit, lie down, and turn around within the booster, but not enough to step out of it.
If the booster did not come with an integrated tether, use a short separate tether designed for car use. Avoid using a leash; leash hardware is not crash rated.
Step 6: Final check before driving
Run through this 30-second checklist before every ride:
- Booster does not lift more than 1 inch when pulled. (Five-second test from Step 3.)
- Seat belt is fully clicked into the latch and pulled taut.
- Harness is snug at the chest (two-finger test).
- Tether is clipped to the harness D-ring, not to the dog’s collar.
- Dog can sit comfortably but cannot step out of the booster.
If anything fails the check, fix it before driving. The point of installation is that your hands and eyes catch the problem, because the seat itself cannot.
Common installation mistakes
Wrapping the booster in the seat belt instead of threading
Some owners loop the seat belt around the outside of the booster instead of threading through the channels. This positions the booster but does not anchor it. The booster will slide forward in any hard stop. Always thread through the channels.
Using the booster’s clip instead of a real harness
The internal clip on most consumer boosters is a fabric strap with a plastic snap. It is rated for containment, not crash. If you do not have a separate harness, you do not yet have crash protection. Order a harness before relying on the booster.
Tether too long
A tether longer than 12 inches lets the dog build momentum before the tether catches, which can injure the dog more severely than the original deceleration would have. 4 to 8 inches is the right range.
Tether attached to the collar
A collar attached to a crash-load tether will choke the dog under deceleration. Never tether a dog by the collar. Always use a multi-strap harness.
Not adjusting after the dog grows
Puppies double in size in months. A harness that fit when bought can become dangerously loose or dangerously tight within weeks. Re-fit every two weeks until full grown.
When to replace the booster
- Foam compression. If the booster fill has compressed flat (more than 50% loss of original height), replace. Most cheap boosters reach this point in 12 to 18 months of regular use.
- Stitching wear. Visible fraying at the harness anchor point, the seat belt channels, or the cover seams.
- After any crash. Even a low-speed collision can damage internal stitching invisibly. Replace any booster involved in a collision, regardless of visible damage.
- Dog has grown out of it. If your dog can no longer sit comfortably or fits at the maximum weight rating, move to a back-seat harness setup instead.
Frequently asked questions.
How do I know if my dog booster seat is installed correctly?
Pull up on the front edge of the booster with both hands. It should not lift more than an inch. The seat belt should be threaded through the rear channels (not just wrapped around) and pulled taut. The dog’s harness should be clipped to the booster’s internal D-ring with 4 to 8 inches of tether slack.
Should I install the booster in the front or back seat?
Always the back seat. Frontal airbag deployment is dangerous to dogs of any size, and the back seat allows safer routing of the seat belt anchor. The right side (passenger side) is the standard position so you can see and reach the dog from the driver’s seat.
Can I just clip my dog’s leash to the booster?
No. Walking leashes, especially retractable ones, are not crash rated. The hardware will fail under deceleration force, and a leash is too long to function as a safety tether. Use a multi-strap car harness with a short purpose-built tether.
How tight should the seat belt be when anchoring the booster?
Tight enough that the booster does not lift more than an inch when you pull up firmly. Some seat belts engage a “locked tether” mode when fully extended; if yours does, this is the correct configuration for child seats and dog boosters alike.
What if my booster keeps sliding forward during stops?
The seat belt is not properly threaded or not tight enough. Re-thread through both rear channels, click the buckle, and pull the shoulder belt firmly until you feel the belt lock. If it still slides, the booster may not be sized for your seat belt geometry; return and try a different model.
Can the same booster work in two different cars?
Yes, most boosters move between vehicles cleanly. The install procedure is the same in any car with standard back-seat belts. Some pickup trucks and older sedans with non-standard belt geometry may need a different booster.
See our top dog booster seat picks.
We rank the highest-purchased booster seats on Amazon by purchases, ratings, and review volume. Each entry notes whether the internal harness anchor is a real D-ring or a basic clip.
View top boosters →